This guide will help you configure the Cookie Banner offered by My Agile Privacy according to your design needs.
Below you'll find the main available customisation options.
The cookie banner can be tailored to match your site's look and feel. Here are some key options:
A real-time preview lets you view changes before going live.
All options are available via the My Agile Privacy menu in your WordPress admin area.
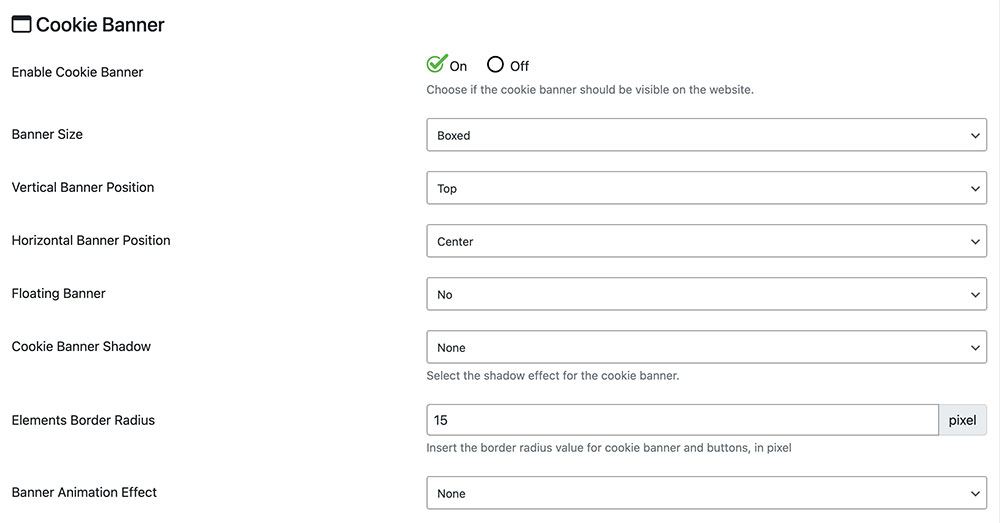
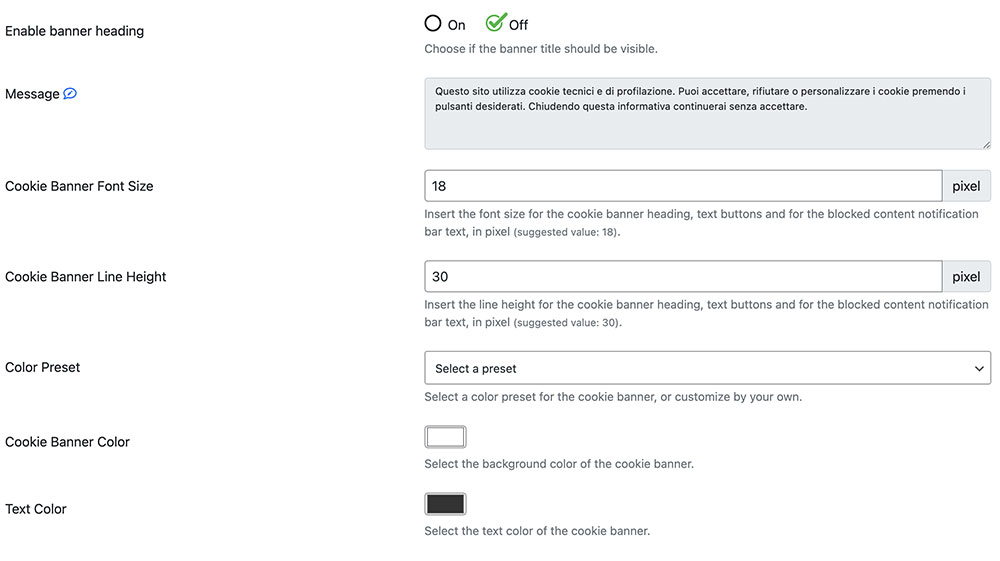
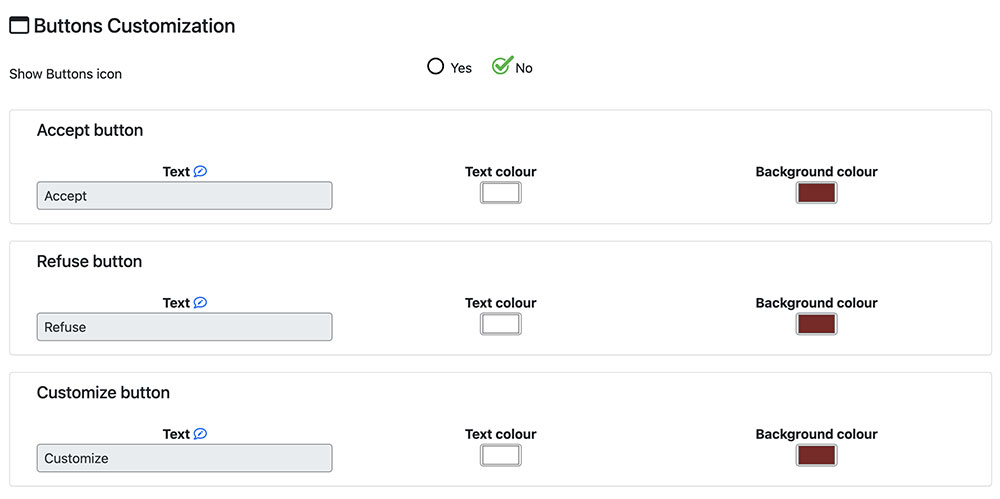
If you wish to go beyond preset options, My Agile Privacy allows for advanced customisation.
Go to My Agile Privacy > Advanced tab and find two advanced settings.
Important note: Do not use these settings unless you're familiar with CSS and styling HTML pages.
Write your own custom CSS, injected into all your site’s pages.
The banner has a specific ID: my-agile-privacy-notification-area. Target that ID or inner elements for deep customisation of the banner, text, buttons, etc.

You can inspect IDs/classes in the browser console on the banner.
All CSS in this field is loaded site-wide while My Agile Privacy is active.
Ticking this option applies a .myagileprivacy_text_wrapper class to policy texts displayed via shortcode, making it easy to style background, font, size and more via CSS.

Put your custom style rules in the same “Custom CSS” field as above.
You can edit every Cookie Banner text via My Agile Privacy > Texts and Translations.
You’ll see real-time previews, and can customise text for every supported language in your plan.
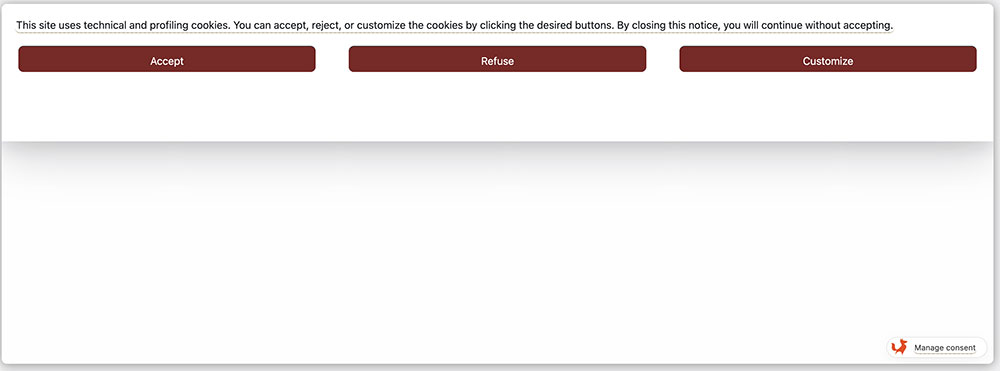
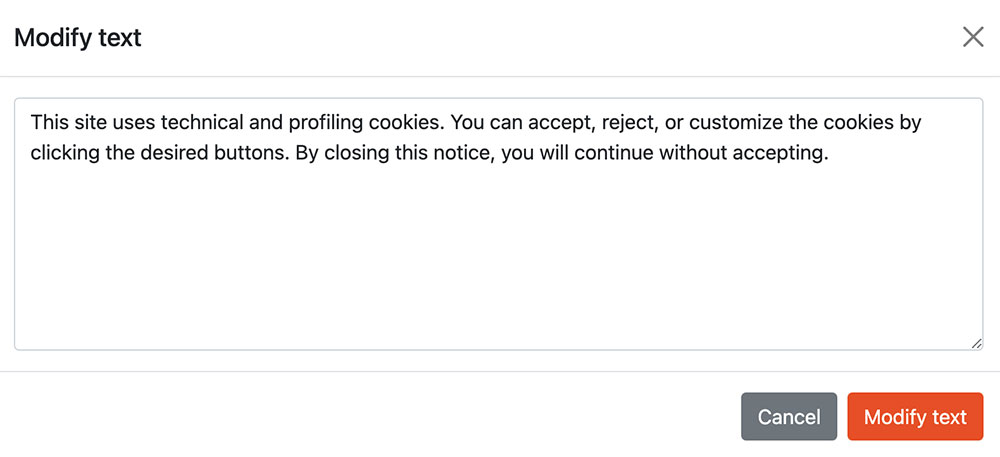
Important: Consult your privacy advisor before changing legal texts, to avoid any risk of non-compliance.
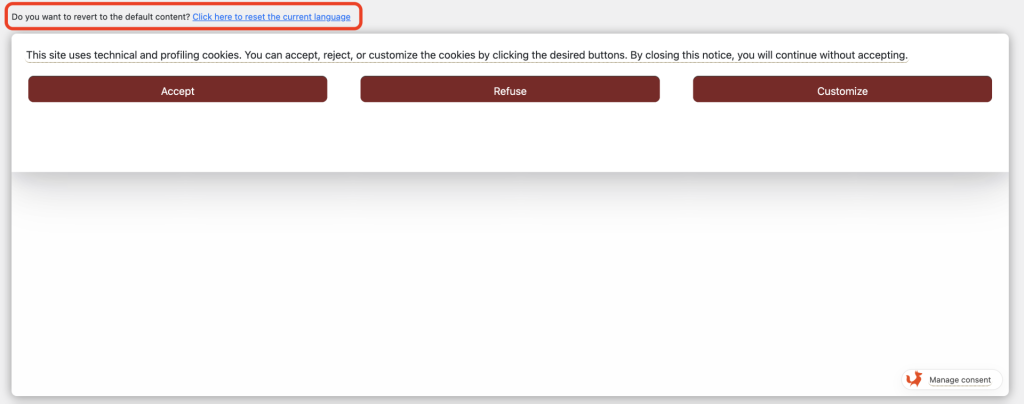
To revert to original texts, click 'Do you want to revert to the default contents? Click here to reset the current language'. You can reset for each language, but remember to save your changes afterwards.
My Agile Privacy lets you display warning messages if a user has not accepted specific cookies.
This is useful for informing users why a feature (e.g., a contact form with Google ReCaptcha) doesn't work, or a newsletter form isn’t shown.
To display a message, add an html block where needed.
The message (which disappears when the cookie is accepted) looks like this:
Clicking the message will re-open the banner and let the user change preferences.
You can link a specific message to a particular cookie. Here’s how:
<div class="map_custom_notify map_api_key_APIKEYHERE showConsentAgain" style="display: block;">
Warning: Your cookie choices do not allow this element to be displayed. Click here to review your preferences.
</div>
Replace APIKEYHERE with the cookie’s actual key.
Customise the warning text as needed.
Example for Google RECAPTCHA:
<div class="map_custom_notify map_api_key_google_recaptcha showConsentAgain" style="display: block;">
Warning: your cookie choices do not allow the form to be submitted. Click here to review your preferences.
</div>For a complete My Agile Privacy configuration, check out: